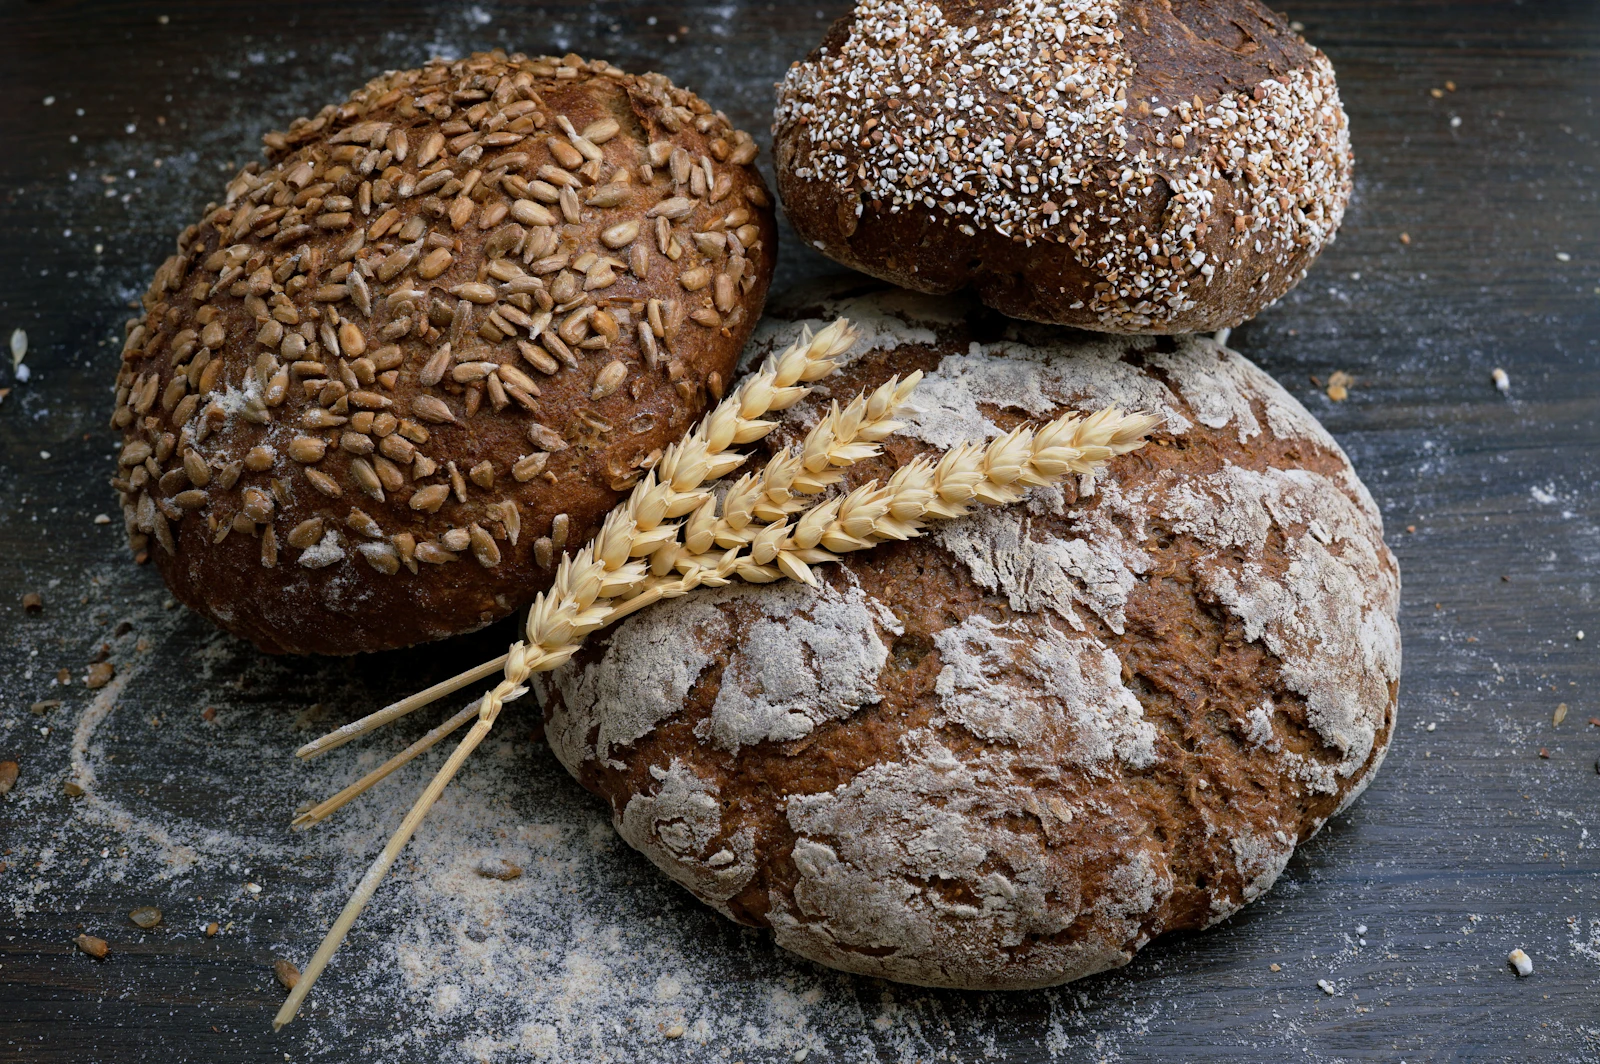
There is a particular satisfaction in pulling a crackling, deep-brown loaf out of your own oven — one that started as nothing more than flour and water in a jar on the counter. Sourdough fits the homestead kitchen like nothing else. It asks for no packets of commercial yeast, no special equipment beyond a bowl and a hot oven, and it rewards the most old-fashioned ingredient of all: patience. A sourdough starter is a living culture of wild yeast and friendly bacteria, and once it is going, it can leaven your bread for years. This guide takes you from an empty jar to your first real loaf in about a week.
What You Will Need
Keep the gear list short. A clean quart-size glass jar, unbleached all-purpose flour (whole wheat or rye flour helps kick-start the culture), and water — filtered or left out overnight so any chlorine can dissipate. A rubber band to mark the starter's level on the jar, a kitchen scale if you have one (a measuring cup works too), and a heavy lidded pot such as a Dutch oven for baking day. Find a spot in the kitchen that stays around 70 to 75 degrees; on top of the fridge or inside the oven with the light on are classic choices.
Building Your Starter: A 7-Day Timeline
Think of the first week as waking something up. You are creating the conditions for wild yeast to move in and multiply. Feed it on schedule, keep it warm, and don't panic at the strange smells — they are part of the process.
Day 1 — Mix. Stir together about half a cup of whole wheat flour and a third of a cup of water in your jar until no dry bits remain. Scrape down the sides, mark the level with the rubber band, and cover loosely with a cloth or a lid set ajar. Leave it alone for 24 hours.
Day 2 — First feeding. You may see a few bubbles, or nothing at all — both are fine. Stir the mixture, discard about half, then add half a cup of unbleached all-purpose flour and a third of a cup of water. Mix, mark, cover, wait.
Day 3 — Keep feeding. Discard half and feed the same amounts again. The mixture may smell sharp or a bit like old cheese today. That sour, funky stage is normal and temporary; the microbial community is sorting itself out.
Day 4 — Twice a day now. As activity picks up, switch to feeding every 12 hours: discard half, feed, mark, cover. The smell should start turning pleasantly yeasty, like beer or yogurt.
Day 5 — Watch it rise. A healthy starter now doubles in volume within 4 to 8 hours of feeding. If yours is sluggish, warmth is usually the fix — move it somewhere a few degrees warmer and stay the course.
Day 6 — The float test. Drop a small spoonful of starter into a glass of water. If it floats, it is full of gas and ready to leaven bread. If it sinks, give it another day or two of twice-daily feedings.
Day 7 — Bake day approaches. A starter that reliably doubles and passes the float test is ready. Feed it in the morning and plan to mix your dough a few hours later, when it is at its peak — domed on top and full of bubbles.
Baking Your First Loaf: Step by Step
This makes one hearty round loaf, roughly two pounds. Read through once before you start; sourdough is forgiving, but it helps to know the shape of the day.
- Morning — feed and wait. Give your starter its morning feeding. In 4 to 6 hours, when it has doubled and passes the float test, you are ready to mix.
- Mix the dough. In a large bowl, combine 500 grams of bread flour (about 4 cups) with 375 grams of water (about 1 2/3 cups). Mix into a shaggy mass and let it rest 30 to 60 minutes. This rest, called autolyse, lets the flour hydrate and makes the dough easier to handle.
- Add starter and salt. Add 100 grams of ripe starter (about half a cup) and 10 grams of fine salt (about 2 teaspoons). Pinch and fold the dough with wet hands until everything is evenly incorporated.
- Bulk ferment with stretch-and-folds. Cover the bowl and leave it at room temperature for 4 to 6 hours. During the first two hours, every 30 minutes, reach under one edge of the dough, stretch it up, and fold it over the center; turn the bowl a quarter turn and repeat a few times. The dough will gradually turn smooth and elastic.
- Shape. Turn the dough onto a lightly floured counter. Gently stretch it into a rough rectangle, fold the sides in like a letter, then roll it into a round or oval, tucking the seam underneath. Place it seam-up in a floured banneton basket or a bowl lined with a floured tea towel.
- Final proof. Cover and refrigerate overnight — the cold slows fermentation and deepens the flavor — or proof at room temperature for 2 to 4 hours until puffy. The fridge method is the more forgiving of the two.
- Bake. Put your Dutch oven in the oven and preheat to 450°F for at least 45 minutes. Turn the loaf onto parchment, slash the top with a sharp knife or razor, and lower it into the hot pot. Bake covered for 20 minutes, then uncovered for 20 to 25 minutes, until the crust is deeply browned.
- Cool — really. This is the hardest step. Let the loaf cool on a rack for at least one full hour before slicing. The inside is still setting as it cools, and cutting early gives a gummy crumb.
Troubleshooting Your Bake
Almost every sourdough problem traces back to fermentation timing or starter strength. Here are the usual suspects:
| Problem | Likely Cause | Fix |
|---|---|---|
| Dense, gummy interior | Under-fermented dough, or sliced while still warm | Extend the bulk ferment until the dough looks airy; cool a full hour before cutting |
| Flat loaf with little oven spring | Over-proofed dough or a weak starter | Bake when the starter passes the float test; shorten the final proof |
| Pale, soft crust | Oven or pot not fully preheated; baked too briefly uncovered | Preheat the Dutch oven a full 45 minutes; leave the lid off longer |
| Starter smells like nail polish remover | Hungry starter producing alcohol (hooch) | Pour off the dark liquid and feed; move to twice-daily feedings for a few days |
| No bubbles after a full week | Kitchen too cold, or heavily chlorinated water | Move to a warmer spot; switch to filtered water; keep feeding — some starters take 10 days |
Your first loaf will not look like a bakery window display, and that is exactly as it should be. Sourdough is a skill measured in loaves, not days, and every bake teaches your hands something new. Keep the starter fed — a weekly feeding in the fridge is enough between bakes — and the jar on your counter becomes a small, living piece of the homestead: one more thing you no longer need to buy.
#sourdoughbread #sourdoughstarter #homemadebread #homesteading #breadbaking #fromscratch #artisanbread #homesteadkitchen #fermentation #rusticbaking