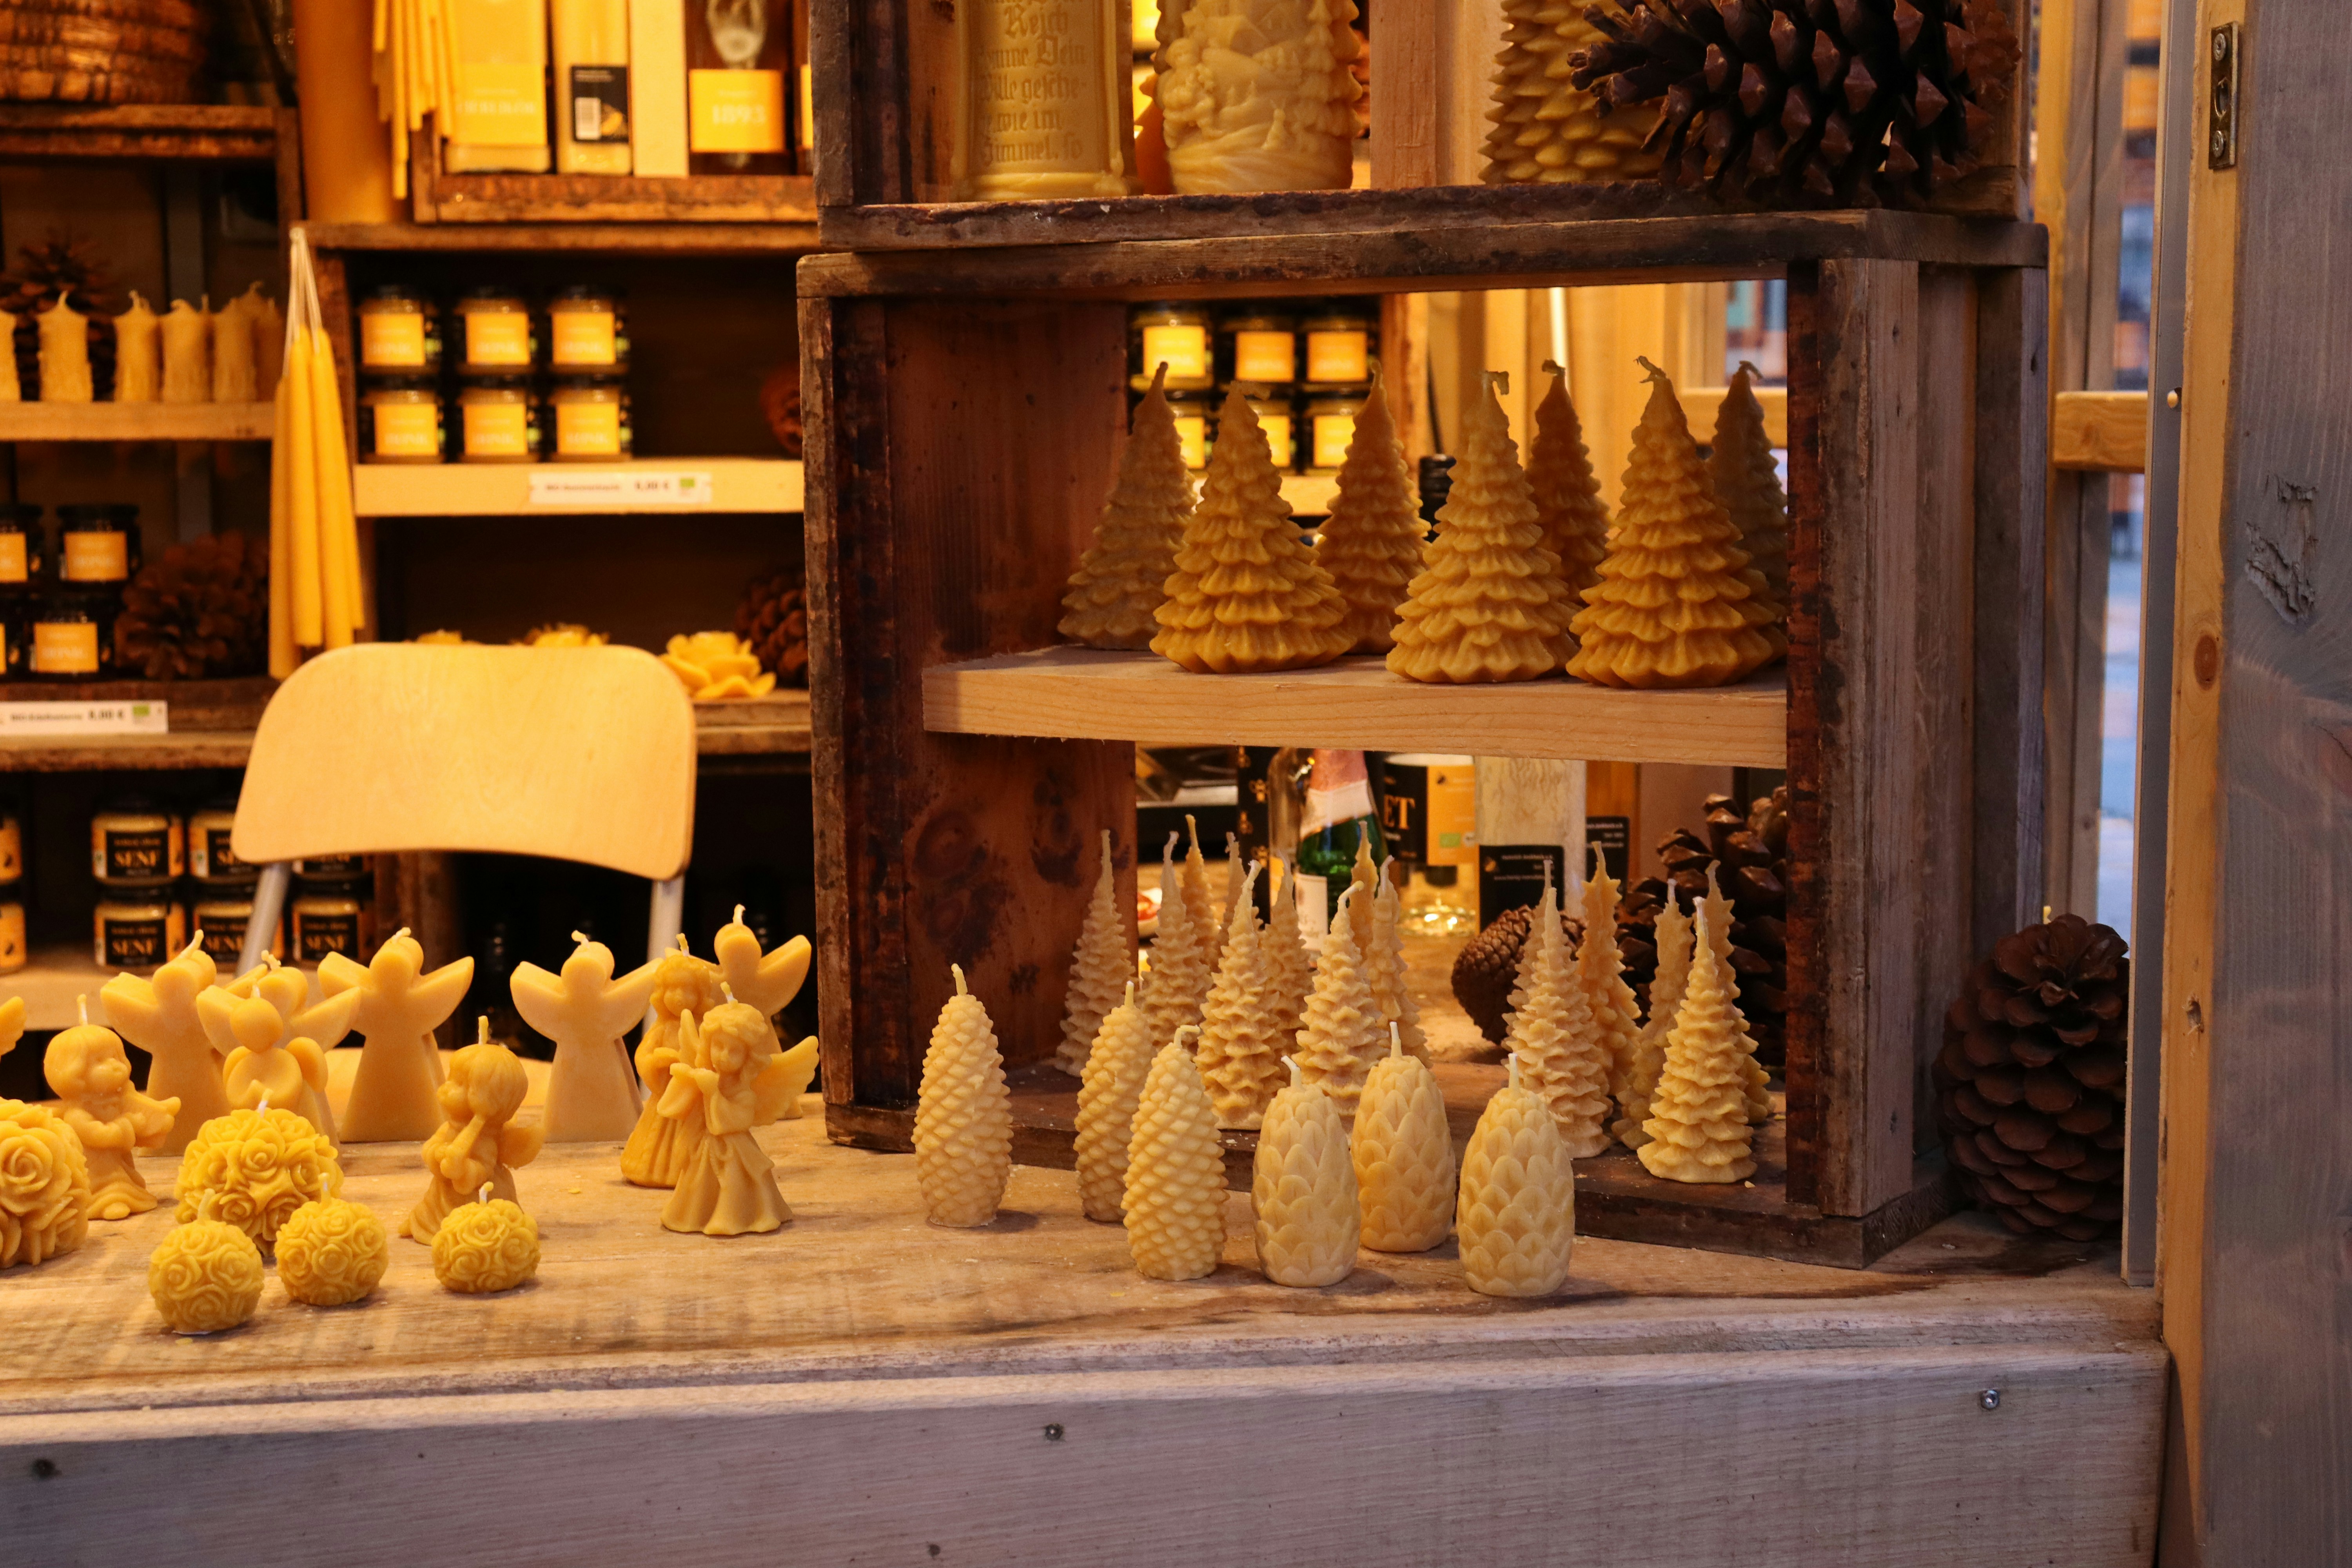
There is a particular quiet that settles over a house in winter when the lamps are low and a beeswax candle is burning on the table. The flame is steady, the light is warm and golden rather than harsh, and the air carries the faint, sweet smell of honey and sun-warmed fields. It is a small luxury, and it is one of the oldest household crafts there is — people have been shaping beeswax into light for centuries, long before electricity or paraffin.
Making your own beeswax candles is also one of the most forgiving crafts a homesteader can pick up. The materials are simple, the tools are mostly things already in a kitchen, and even a first attempt usually produces something beautiful enough to burn or give away. This guide covers three methods, from the easiest to the most traditional, so you can start with whichever matches your patience and your afternoon.
Why Beeswax?
Not all candle wax is the same, and the differences matter more than most beginners expect. Here is how the common options compare:
| Wax | Burn character | Scent | Ease for beginners | Notes |
|---|---|---|---|---|
| Beeswax | Slow, steady, long-burning | Naturally sweet, honey-like | Moderate — needs gentle heat | Dripless when wicked correctly; the most expensive option |
| Soy wax | Even, medium-length burn | Neutral, takes added fragrance well | Easy | Softer wax; best in containers |
| Paraffin | Fast, can smoke or drip | Neutral | Easy | Petroleum-derived; cheapest and most widely available |
| Coconut/rapeseed blends | Clean, even burn | Neutral | Easy | Often pricier; usually sold as blends |
Beeswax earns its reputation honestly. It burns longer than paraffin candles of the same size, it rarely drips when the wick is the right size, and it needs no added scent to smell pleasant. The trade-off is cost: pure beeswax is the priciest candle wax, which is one reason to buy it in block form from a local beekeeper or a reputable supplier rather than in small craft-store packets, where the markup is steepest. Look for wax described as 100% pure, filtered beeswax. If a block smells like nothing at all or feels oddly soft and greasy, it may be blended with paraffin — fine for practice, but not what you want for a finished candle.
One important caution before you begin: beeswax is flammable, and melted wax behaves like hot oil. Never melt wax directly over a flame or in a pot on high heat. Always use a double boiler or a dedicated melting pot set inside a larger pot of water, keep a lid nearby to smother any flare-up, and never leave melting wax unattended. Water and a wax fire do not mix — never throw water on burning wax.
What You Need
For all three methods, gather:
- Pure beeswax (blocks or pellets)
- Cotton wicks, sized for your candle diameter (suppliers usually list a recommended diameter range per wick size — match it, because wick size is the single biggest factor in how a candle burns)
- A double boiler or a heat-safe pouring pitcher set in a pot of water
- A kitchen thermometer
- Chopsticks, pencils, or a wick holder to keep wicks centered
- Newspaper or a silicone mat to protect your work surface
- For poured candles: heat-safe jars, tins, or molds
- For rolled candles: sheets of beeswax foundation (the thin, honeycomb-patterned sheets sold by beekeeping suppliers)
- For dipped candles: a tall, narrow melting container deep enough for your taper length
Method 1: Rolled Candles (No Melting Required)
Rolled candles are the perfect first project, and they are genuinely satisfying — a child can make one, and an adult will still enjoy making a dozen.
That is the whole method. Rolled candles look rustic and charming, with the honeycomb texture visible along the side, and they make wonderful gifts — a pair tied with twine is a classic homestead present.
Method 2: Poured Candles (The Most Versatile)
Poured candles are the workhorse method: jars, tins, tealights, and molded pillars all come from a pour.
A note on containers: use only heat-safe glass or metal. A pretty thrift-store jar that is not tempered can crack from the heat of a burning candle, so when in doubt, use a canning jar or a tin made for candles.
Method 3: Dipped Tapers (The Traditional Craft)
Dipped tapers take the longest, but there is something deeply satisfying about watching a candle grow, layer by layer, in your hands.
Hypothetically, if a household dipped a pair of tapers every weekend for a month, they would end up with a drawer full of dinner candles and a much better feel for the rhythm of the craft than any single afternoon could teach. That rhythm — dip, lift, wait, dip again — is the whole secret. Rushing it makes lumpy candles; patience makes beautiful ones.
When Things Go Wrong
Almost every candle problem traces back to one of a few causes:
- Tunneling (a deep hole down the middle): the wick is too small for the candle's diameter, or the candle was burned for too short a time. On the first burn, let the wax melt all the way to the edge of the container before blowing it out.
- Mushrooming wick (a carbon bulb on the tip): the wick is too large, or it was not trimmed. Trim to a quarter inch before every lighting.
- Cracking or sinkholes: the wax was poured too hot or cooled too fast. Pour cooler, cool slowly, and use a relief pour.
- Soot on the jar: usually a wick that is too long or a draft blowing the flame sideways. Trim the wick and move the candle out of the draft.
- Wax will not release from a mold: chill the mold briefly in the freezer, then tap it firmly. A light coat of mold release spray before pouring also helps.
Burning and Storing Your Candles
A few habits will make your homemade candles last longer and burn more safely. Always burn on a heat-safe surface away from curtains, drafts, and anything flammable, and never leave a burning candle unattended. Trim the wick to a quarter inch before each lighting. For the first burn, let the melt pool reach the edges — this "memory" burn prevents tunneling later. Store finished candles in a cool, dark place; heat and sunlight soften beeswax and fade its color, and a hot attic in summer can warp a whole batch.
Beeswax candles also keep well, which makes them ideal for gifting ahead of time. Wrap a pair in tissue, tie with twine, and add a small note about trimming the wick — it is the kind of gift that gets used rather than shelved.
A Craft Worth Keeping
Candle making sits in a sweet spot among homestead crafts: it is useful, it is beautiful, it costs little to start, and it connects a household to an older way of doing things. A jar of honey from the hive, a candle from the wax — nothing wasted, everything used. Whether you start with a rolled candle this weekend or work your way up to dipped tapers by winter, the light on the table will be yours in a way no store-bought candle can match.
#Homesteading #BeeswaxCandles #DIYCandles #HomesteadCrafts #TraditionalSkills #NaturalLiving #CandleMaking #SelfSufficiency #HomesteadLife #HandmadeHome