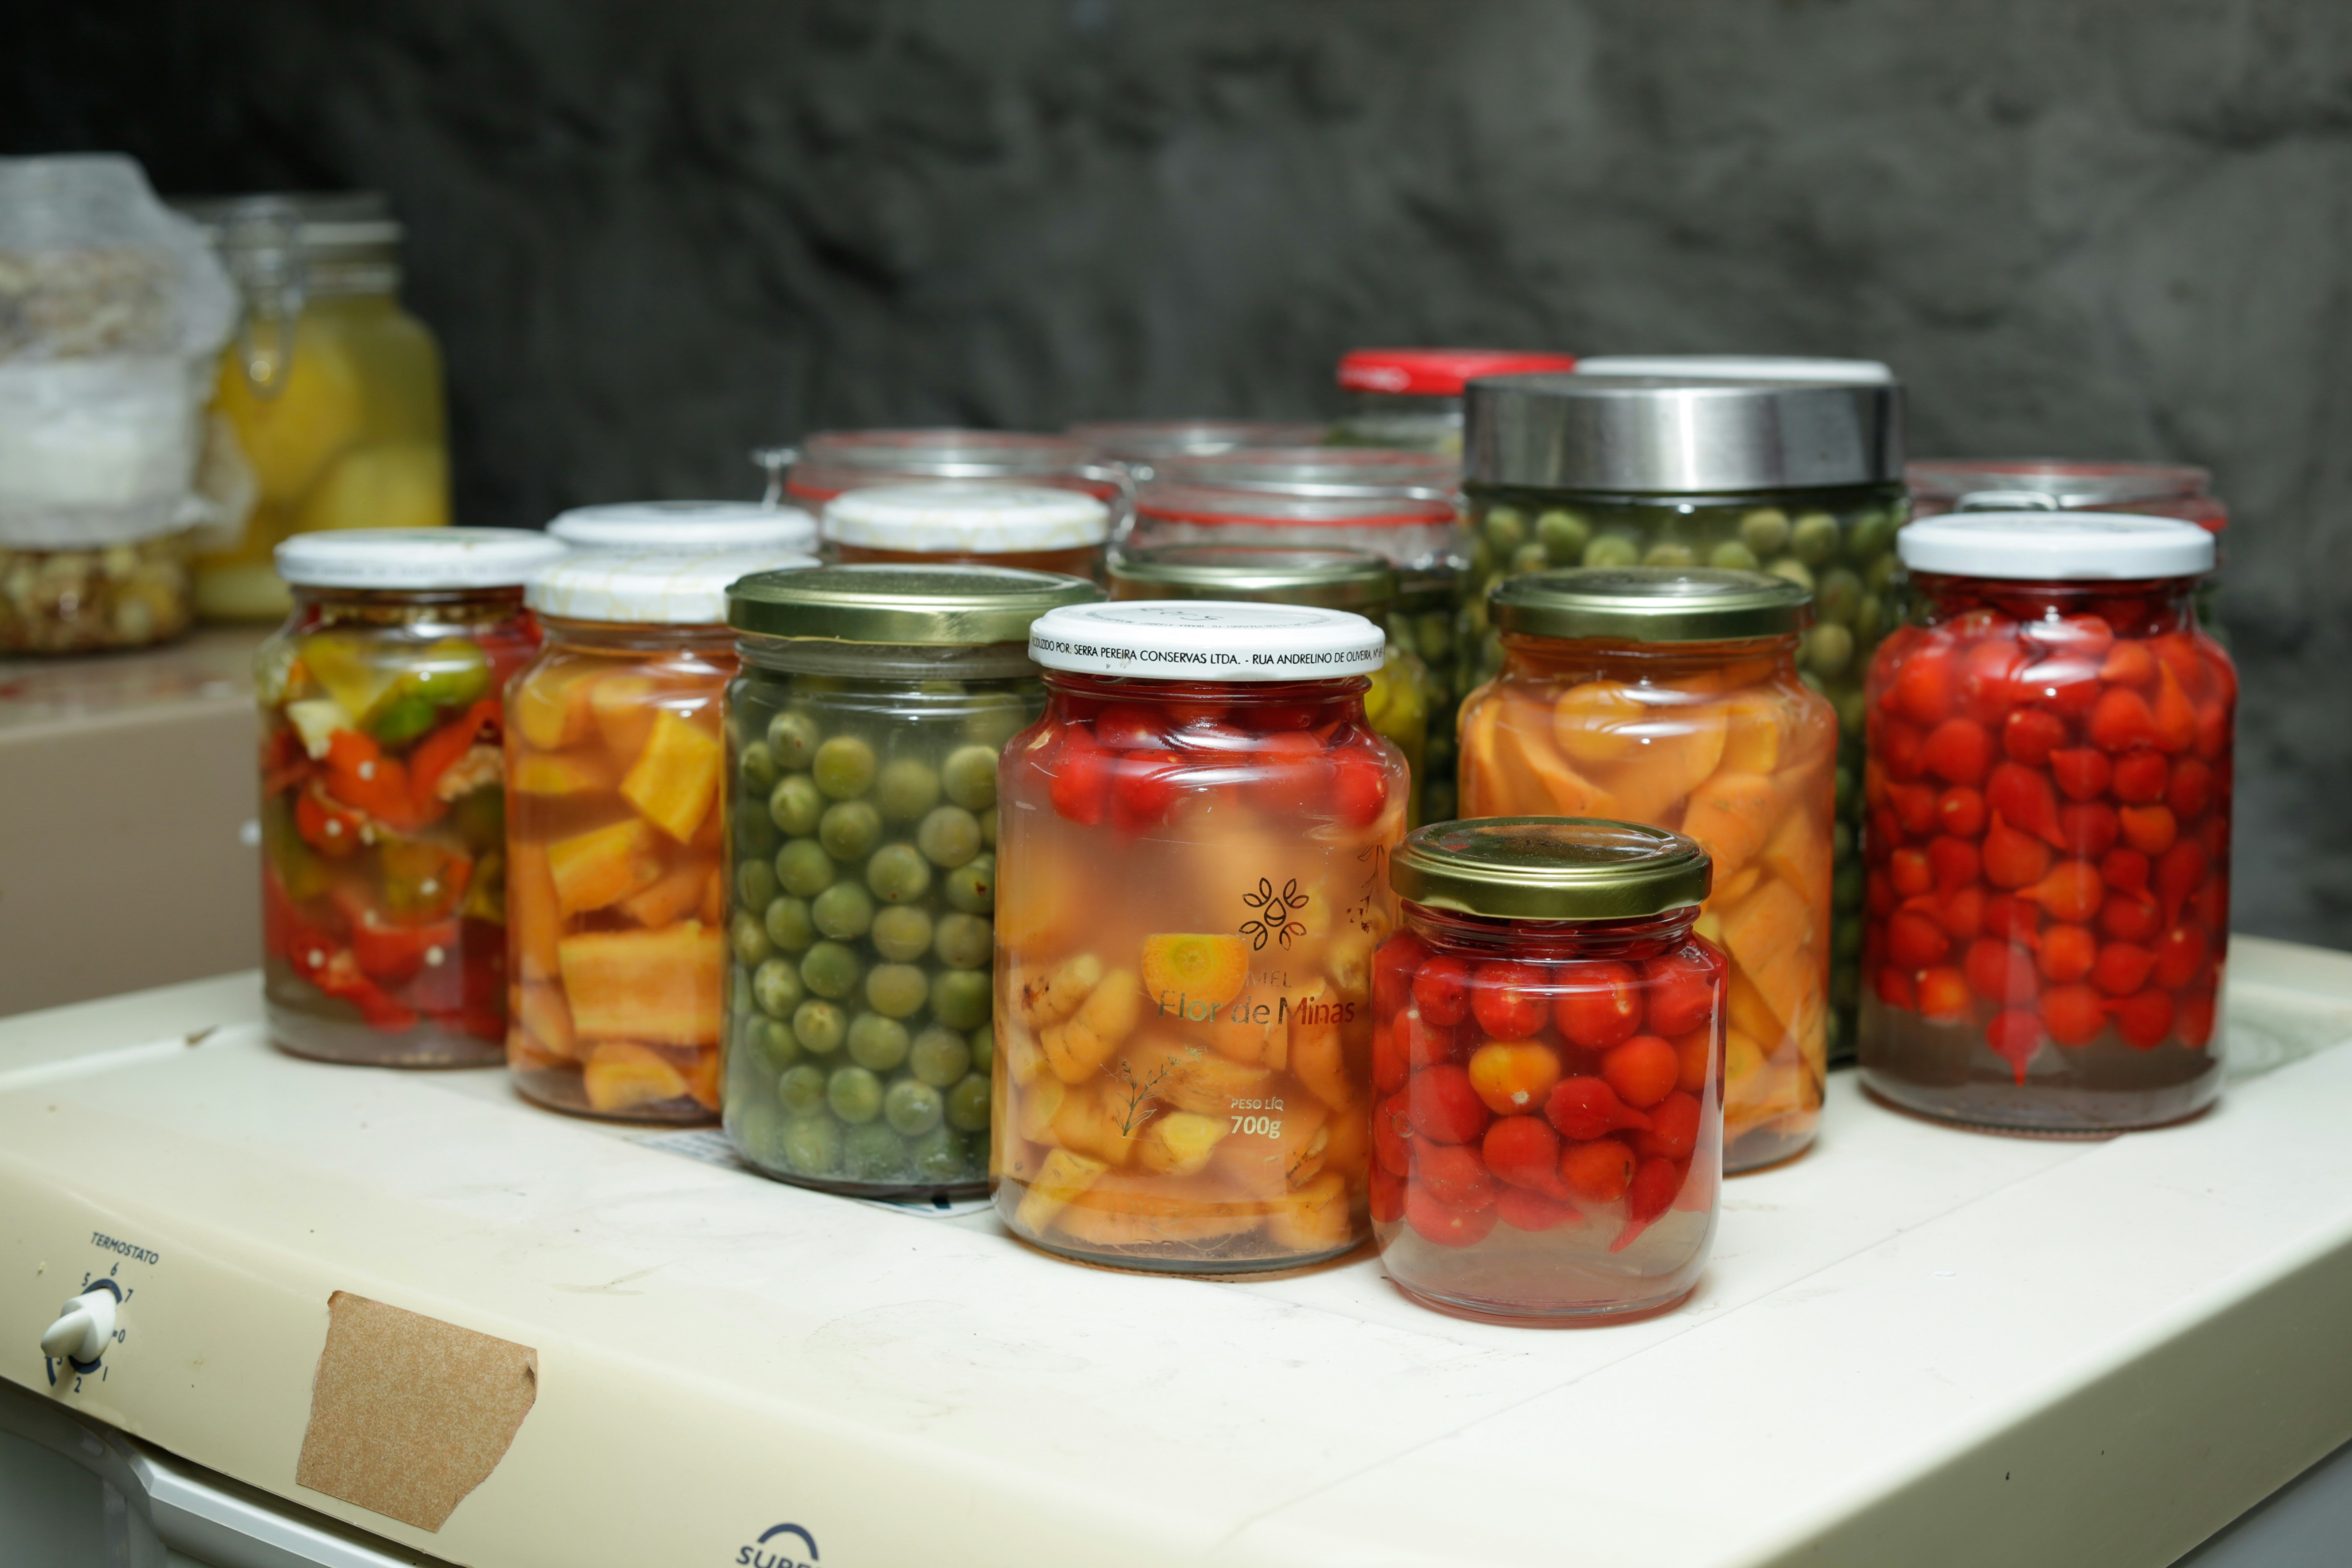
Every homesteader who has filled a pantry shelf with gleaming jars knows the feeling: row after row of green beans, carrots, potatoes, and soup, put up at harvest and ready for the middle of winter. Water bath canning gets a lot of the attention because it is simple and familiar. But a whole shelf of the pantry — the low-acid foods — cannot be safely canned that way at all. For those foods, there is exactly one correct tool: the pressure canner.
Pressure canning intimidates beginners more than any other preservation method, and the old stories do not help. Generations of cooks heard tales of canners exploding in grandmothers' kitchens. Modern pressure canners, however, are built with multiple safety features — weighted regulators, pressure relief valves, and locking lids — that make those old disasters a thing of the past, as long as the equipment is used correctly and maintained. The real danger in home canning was never the canner. It is the invisible one: bacteria that survive inadequate processing.
Why Pressure Is Non-Negotiable for Low-Acid Foods
The science is straightforward. Foods are divided into high-acid and low-acid categories based on their pH. High-acid foods — most fruits, pickles, jams, and properly acidified tomatoes — can be safely processed in a boiling water bath, because the acid prevents the growth of Clostridium botulinum, the bacterium that causes botulism. Low-acid foods — vegetables, meats, poultry, seafood, and soups — do not have that protection.
Clostridium botulinum spores can survive boiling water temperatures. They are destroyed only at temperatures around 240°F (116°C), which can only be reached under pressure. That is the entire reason pressure canning exists. No amount of extra time in a boiling water bath substitutes for it, and no shortcut — a hotter stove, a longer boil, an oven, a slow cooker — changes the physics.
This is also why tested recipes matter so much. Processing times and pressures are not guesses; they are established through laboratory testing by the USDA and university extension services. The National Center for Home Food Preservation (NCHFP) publishes the USDA Complete Guide to Home Canning online, and it is the gold standard reference for home canners. Whenever this article gives a general guideline, it is pointing you back to a tested recipe for the specifics — your altitude, your jar size, and your exact food all change the numbers. (Source: National Center for Home Food Preservation, https://nchfp.uga.edu/)
What Can — and Cannot — Be Pressure Canned
Pressure canning covers an enormous range of foods, but not everything belongs in a jar. Here is a quick orientation:
Well suited to pressure canning: green beans, carrots, corn, peas, potatoes, beets, winter squash (cubed, not pureed), meat and poultry, fish and seafood, soups and stews made from tested recipes, beans and legumes.
Do not pressure can: pureed pumpkin or squash (too dense for heat to penetrate evenly), dairy products, eggs in any form, butter, oils and fats, breads and cakes, and any recipe invented without testing. Dense purees and fats insulate the center of the jar from heat, so even a full processing time may leave the middle under-processed. That is a real, documented risk, not a matter of taste.
Needs acidification first: tomatoes sit on the borderline. Modern tomato varieties are often less acidic than older ones, so tested recipes add bottled lemon juice or citric acid before processing. Follow the recipe, not tradition, on this point.
Choosing a Canner: Dial Gauge vs. Weighted Gauge
The first purchase decision is the type of pressure regulator. Both styles work; they simply behave differently.
| Feature | Dial-gauge canner | Weighted-gauge canner |
|---|---|---|
| How pressure is read | A needle gauge shows exact pressure | A rocking weight jiggles or rocks at set pressure |
| Precision | Lets you adjust to exact PSI for your altitude | Fixed at 5, 10, or 15 PSI settings |
| Maintenance | Gauge must be tested for accuracy every year (extension offices often test free or cheaply) | No gauge to test; the weight itself is the regulator |
| Noise | Quiet | Rhythmic rocking sound — normal and reassuring once you learn it |
| Best for | Canners who want fine control and do not mind annual testing | Beginners who want simplicity and low maintenance |
For a first canner, a weighted-gauge model is often the easier choice: there is no gauge to worry about, and the rocking weight tells you by sound that pressure is holding. Whichever style you choose, buy a canner large enough for the jars you plan to use — a canner that holds only three quart jars will turn a big harvest into an all-day chore. Check that the canner fits your stove, too: some smooth-top electric ranges cannot support the weight of a fully loaded large canner, and the manufacturer will say so in the manual.
Before each season, inspect the gasket (the rubber seal in the lid). If it is cracked, stiff, or stretched, replace it. Check the vent pipe for blockages — a straightened paper clip or the cleaning tool that came with the canner does the job — and make sure the safety valve moves freely. These two-minute checks are the difference between a smooth canning day and a frustrating one.
Myth vs. Fact: Pressure Canning Edition
Myth: "My grandmother water-bathed green beans for years and nobody got sick." Fact: Surviving a risky practice is not proof it is safe. Botulism is rare but often fatal, and it does not announce itself — improperly processed jars can look and smell perfectly normal. The USDA and NCHFP guidance exists precisely because the risk is invisible.Myth: "If the lid seals, the food is safe." Fact: A seal only means a vacuum formed. It says nothing about whether the food inside reached a safe temperature for long enough. An under-processed jar can seal beautifully and still be dangerous.
Myth: "I can reuse lids if they look fine." Fact: Flat lids are single-use. The sealing compound deforms during processing and may not seal reliably a second time. Bands (screw rings) can be reused; lids cannot. This is one place where frugality genuinely costs safety.
Myth: "A pressure cooker and a pressure canner are the same thing." Fact: They are not. Pressure cookers are smaller, heat and cool faster, and have not been validated for canning — their processing profiles do not match tested canning times. Use a canner designed and sized for canning.
The Process, Step by Step
The following walkthrough follows the standard method for a batch of green beans, one of the most common first pressure-canning projects. Always use the complete tested recipe for your specific food — this is the shape of the process, not a substitute for the recipe.
1. Prepare the food and jars. Wash, trim, and cut the beans. Pack them into clean, hot jars — raw pack (uncooked beans topped with boiling water) or hot pack (beans briefly boiled first, then packed) — leaving the headspace the recipe specifies, usually 1 inch for beans. Remove air bubbles with a non-metallic spatula or chopstick, wipe the jar rims clean with a damp cloth, place a new flat lid on each jar, and screw the band on fingertip-tight. Overtightening bands traps air and can prevent a proper seal.
2. Prepare the canner. Pour 2 to 3 inches of water into the canner (follow your manual's guidance), set the jars on the rack inside, and fasten the lid without the regulator in place.
3. Vent the canner. Turn the heat to high. When a steady stream of steam escapes from the vent pipe, let it vent for a full 10 minutes. This step drives air out of the canner so the pressure reading reflects steam pressure, not a mix of steam and air. Skipping or shortening the vent is one of the most common beginner mistakes.
4. Bring to pressure. Place the regulator on the vent pipe. The canner will build to the pressure your recipe calls for — adjusted for your altitude. As a general example from USDA guidance, green beans process at 10 pounds of pressure with a weighted gauge (or 11 pounds on a dial gauge) at altitudes up to 1,000 feet, with higher pressures required at higher altitudes. Your recipe's altitude table is the authority here, not this summary.
5. Hold time and pressure. Once the target pressure is reached, start the timer and adjust the heat to hold that pressure steady for the full processing time — for example, USDA guidance lists 20 minutes for pints and 25 minutes for quarts of green beans at the pressures above. If pressure drops below the target at any point, the timing must restart from the beginning. This is frustrating but non-negotiable.
6. Cool down naturally. When the time is up, turn off the heat and let the canner cool on its own until the pressure returns to zero. Do not rush this with cold water or by forcing the lid. When the gauge reads zero (or the safety lock drops), remove the regulator, wait a few minutes, then open the lid away from your face — a rush of steam is normal.
7. Check seals and store. Lift the jars out with a jar lifter and set them upright on a towel, leaving space between them. Do not tighten bands or press on lids while jars cool. After 12 to 24 hours, check each seal: the lid should be concave and should not flex when pressed. Remove the bands, wipe the jars, label with the contents and date, and store in a cool, dark place. Any jar that did not seal goes into the refrigerator and gets eaten within a few days — it is not a failure, it is lunch.
Storage and Shelf Life
Properly sealed, correctly processed jars keep their best quality for about a year, though they remain safe longer if the seal holds. Store jars without their bands — this way, if a seal fails in storage, you will notice, because a loose lid will not be held in place by a band pretending everything is fine. Keep jars out of direct sunlight and away from heat sources; a cool pantry or basement shelf is ideal. And always inspect before eating: if a lid is bulging, the contents bubble or foam when opened, or the food smells off, discard it without tasting. When in doubt, throw it out — no jar of beans is worth the risk.
Frequently Asked Questions
Can I pressure can on a glass-top electric stove?It depends on the stove and the canner. Some manufacturers prohibit canning on smooth-top ranges because of weight and heat-cycling concerns, while others allow it with a flat-bottomed canner. Check both manuals before you start. A portable propane burner outdoors is a popular workaround for big canning days, and it keeps the heat out of the kitchen in summer, too.
Do I really need to adjust for altitude?
Yes. Water boils at lower temperatures at higher altitudes, and pressure must be increased to reach the same processing temperature. Recipes include altitude tables for exactly this reason. If you live above 1,000 feet and process at sea-level pressure, your food is under-processed.
What should I do with a jar that loses its seal in storage?
If you catch it early and the food still looks and smells normal, you can refrigerate and eat it promptly, or reprocess it within 24 hours with a new lid using the full processing time. If there is any doubt about how long it sat unsealed, or any sign of spoilage, discard it. The pantry is no place for optimism about food safety.
The Pantry Shelf, Earned
Pressure canning asks for more attention than other preservation methods: the venting, the pressure watch, the altitude math. In return, it opens up the largest part of the pantry — the vegetables, meats, and soups that a water bath simply cannot handle. A household that learns it gains something real: food independence measured not in days but in seasons, and a shelf of jars that turns a garden's busiest weeks into winter's easiest meals. Start with one tested recipe, one batch of beans, and the full process done carefully. The second batch will already feel familiar.
#Homesteading #PressureCanning #HomeCanning #FoodPreservation #PantryStocking #CanningSafety #HomesteadKitchen #PreserveTheHarvest #SelfSufficiency #TraditionalSkills